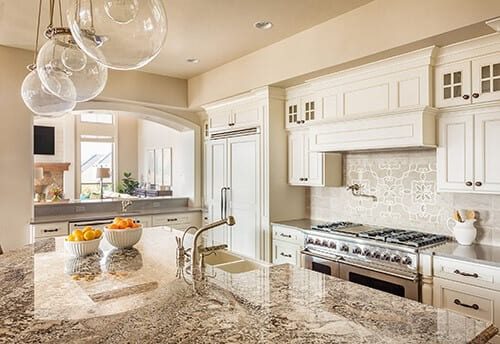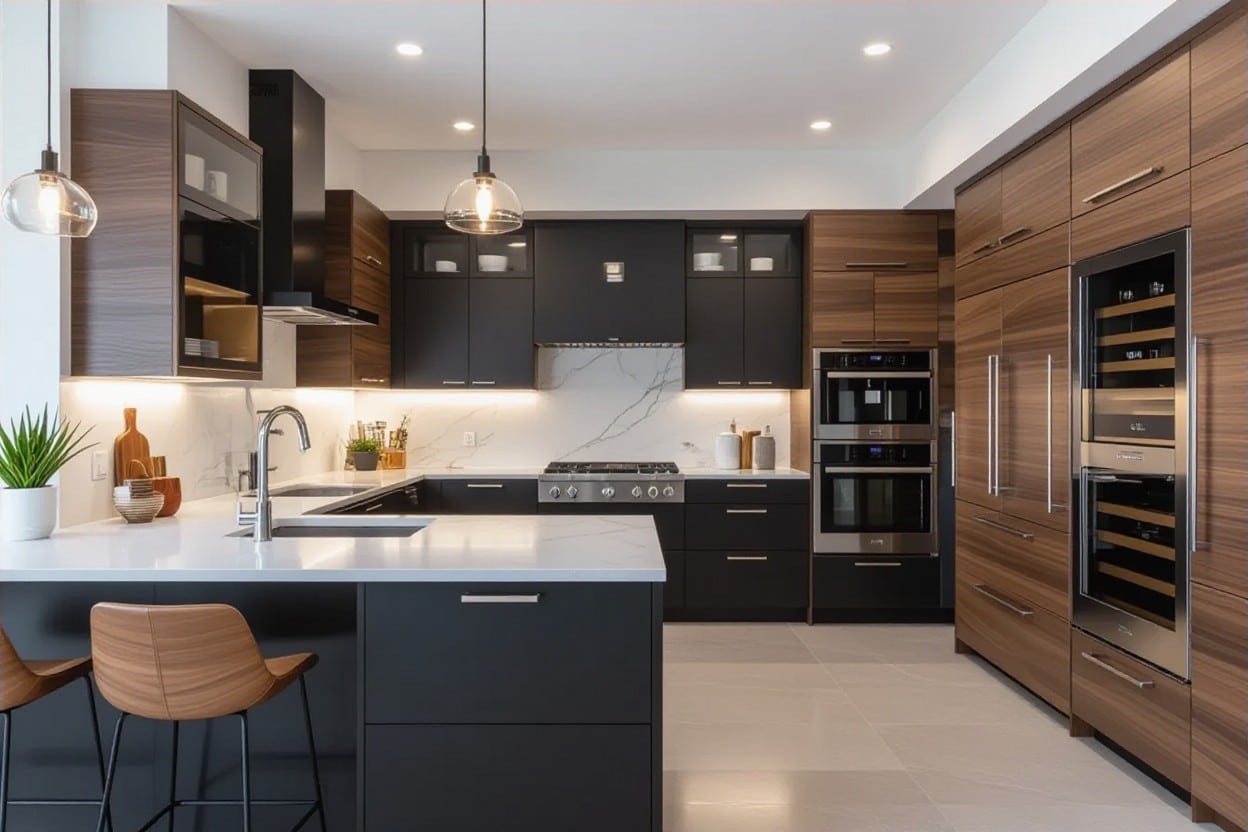
Thinking about installing kitchen cabinets yourself? It’s a rewarding project that can completely refresh your home. At Toscana Remodeling, we believe that with the proper guidance, homeowners can tackle many home improvement projects. This guide will walk you through the process of installing kitchen cabinets, making it approachable for everyone, whether you’re a first-time DIYer or a seasoned professional.
Getting Started: The Foundation of Your New Kitchen
Before you even think about lifting an actual cabinet, there are a few crucial steps to take. Proper preparation is essential for a seamless kitchen cabinet installation.
Planning Your Cabinet Layout
First and foremost, you need a solid cabinet layout. This means knowing exactly where each new cabinet will go. If you’re working with a design from Toscana Remodeling, you’ll already have this. If not, consider your needs and the flow of your kitchen. Do you need a pantry cabinet? Where will your Lazy Susan corner cabinets go? Thinking about your cabinet type – whether they are pre-made cabinets or RTA cabinets – will also influence your approach. Don’t forget to account for your appliances and the door swing of each cabinet.
Gathering Your Tools and Materials
You’ll need some basic tools for this job. We’re talking about a tape measure, a level (a long one is quite useful!), a drill, a stud finder, and various screwdrivers. You’ll also need shims, cabinet screws, and, potentially, filler strips, depending on your design. Having a second person to help is also highly recommended, especially when dealing with upper cabinets or a large piece of furniture, such as a tall cupboard.
The Nitty-Gritty: Installing Your Kitchen Cabinets
Now for the fun part: putting those beautiful new units in place!

Preparing Your Walls
Even before you bring in your new kitchen cabinets, you need to ensure your walls are ready. Using your level, find the highest spot (or high spot, or high points) on your floor where your base cabinets will sit. This is critical for getting your base cabinets level. If your floor isn’t perfectly flat, you’ll use shims to level it out.
Next, using a stud finder, find the wall studs. Mark their locations. These are where you’ll securely fasten your cabinets.
Installing Upper Wall Cabinets First
It might seem counter-intuitive, but the best way to start is often by installing the upper wall cabinets first. This prevents damage to your base cabinets and provides you with more room to move.
-
Draw a Level Line
Measure from your highest spot on the floor to the bottom of where your upper cabinets will be located. Use a long level to draw a perfectly level line across the wall. This will serve as the guide for the bottom of your upper cabinets.
-
Attach a Ledger Board (Optional but Recommended)
For extra support, especially if you’re working alone, you can screw a temporary ledger board along this level line. As you fasten your cabinets in place, they can rest on this.
-
Lift and Secure
With a helper, lift the first upper cabinet into place, resting it on the ledger board (if you’re using one). The cabinet’s top should align with the level line. Drill a pilot hole through the face frame (the solid wood frame on the front of the cabinet) and into the wall studs. Next, insert cabinet screws through the screw holes and into the studs. Check that the cabinet is straight and level before fully tightening the screws.
-
Connect Adjacent Cabinets
When mounting the next cabinet, clamp it to the previously installed cabinet. Drill pilot holes through the face frames where they meet and secure them together with short cabinet screws. This ensures a seamless look. Repeat this process for all your upper cabinets. Don’t forget any tall cupboards or specialty units.
Moving on to the Lower Cabinets
Once your upper cabinets are in, it’s time to tackle the lower cabinets.
-
Start with a Corner Cabinet
If you have one, begin with a lazy Susan corner cabinet or any other corner unit. This establishes your baseline for the rest of your base cabinets.
-
Shim and Level
Place the first base cabinet in its position. Use shims under the cabinet bases to ensure the cabinet is perfectly level from front to back and side to side. This is crucial for your counter tops later on.
-
Secure to Wall Studs
Just like with the uppers, locate the wall studs behind the inside of the cabinet. Drill pilot holes in the back of the cabinet and into the studs, then secure them with cabinet screws.
-
Connect and Level Subsequent Cabinets
As you add the next cabinet, secure it to the previously installed one. Before screwing it together through the face frames, ensure that it is level with the first cabinet. Continue this process along your wall. Pay close attention to ensuring your base cabinets level across the entire run.
-
Adding Filler Strips and Toe Kicks
If there are any gaps between your cabinets and the wall or between two cabinets, apply filler strips to complete the design. The toe kicks are the last piece that goes on the front of the toe space at the bottom of the base cabinets, providing a clean finish.
Finishing Touches and Important Considerations
- Additional Support: For larger or heavier cabinets, consider adding furring strips or other additional support to the wall studs for extra stability.
- Checking for Plumb and Level: Always inspect your work with a level. It’s much easier to adjust a cabinet before it’s fully secured.
- Cabinet Sides: Ensure the exposed cabinet sides are properly finished if another cabinet or an appliance won’t cover them.
Need a Hand with Your Kitchen Cabinet Installation?
While this step-by-step guide gives a solid foundation for how to install kitchen cabinets, we understand that not every homeowner has the time or desire to tackle such a project themselves. That’s where Toscana Remodeling comes in! We specialize in professional kitchen cabinet installation and can help you with your new cabinets no matter the type of cabinets you choose.
Whether you’re in Dallas, Plano, or Irving, our team of experts can handle your Kitchen Remodel, Bathroom Remodel, Home Remodeling, and general Home Improvement needs, including expert Kitchen Cabinets installation. We even offer a kitchen design service to help you visualize your dream kitchen!
Frequently Asked Questions About Kitchen Cabinet Installation
Q: What is the first thing to do when installing kitchen cabinets?
A: The first step is to plan your cabinet layout and ensure your walls are prepared. To do this, locate the highest point on your floor and identify the wall studs.
Q: Which cabinets are installed first, the upper or lower ones?
A: It is generally recommended to install the upper wall cabinets first. This provides you with more room to work and helps prevent damage to your lower cabinets.
Q: How do you put new cabinets on the wall?
A: You attach new cabinets to the wall by screwing them into the wall studs through the back of the cabinet or the face frame, after drilling a pilot hole.
Q: Do you shim base cabinets on the floor?
A: Yes, you often need to use shims under the cabinet bases to make sure the base cabinets level perfectly, especially if your floor isn’t perfectly flat.
Ready to Enhance Your Kitchen?
Installing kitchen cabinets can significantly enhance the look and functionality of your home. We hope this guide has given you the confidence to consider taking on this project or, at the very least, understand the process involved.
At Toscana Remodeling, we are dedicated to helping you achieve the kitchen of your dreams. From providing a free kitchen design consultation to expert kitchen cabinet installation, we are your trusted partner for all your Kitchen Cabinet needs in Dallas, Plano, and Irving. Contact us today at (972) 406-8881 to discuss your project, and let us bring your vision to life!
10 Best Ways Custom Cabinets Can Update Your Home
Affordable Kitchen Renovations: Best Budget-Friendly Ideas to Refresh Your Space in 2025
Expensive Home Renovation Mistakes to Avoid: Top 7 Blunders That Can Ruin Your Dream Project
