
Homeowners searching kitchen tile installation Fairview TX usually want a floor or backsplash that is flat, clean, and planned around cabinets — not a weekend bag of mastic. Toscana Remodeling installs kitchen tile as part of remodeling in Fairview and nearby Collin County.
Short answer: Confirm substrate, layout, grout joints, and whether the splash waits until after the countertop. Those four decisions prevent lippage, recuts, and outlets buried in grout lines.
Call (972) 406-8881 or contact us to walk the kitchen before anyone orders tile.
Table of Contents
- Kitchen tile installation in Fairview: floors vs backsplash
- Substrate, layout, and what we check first
- Backsplash sequencing with counters and outlets
- Living in the house during tile work
- How to read a Fairview tile bid
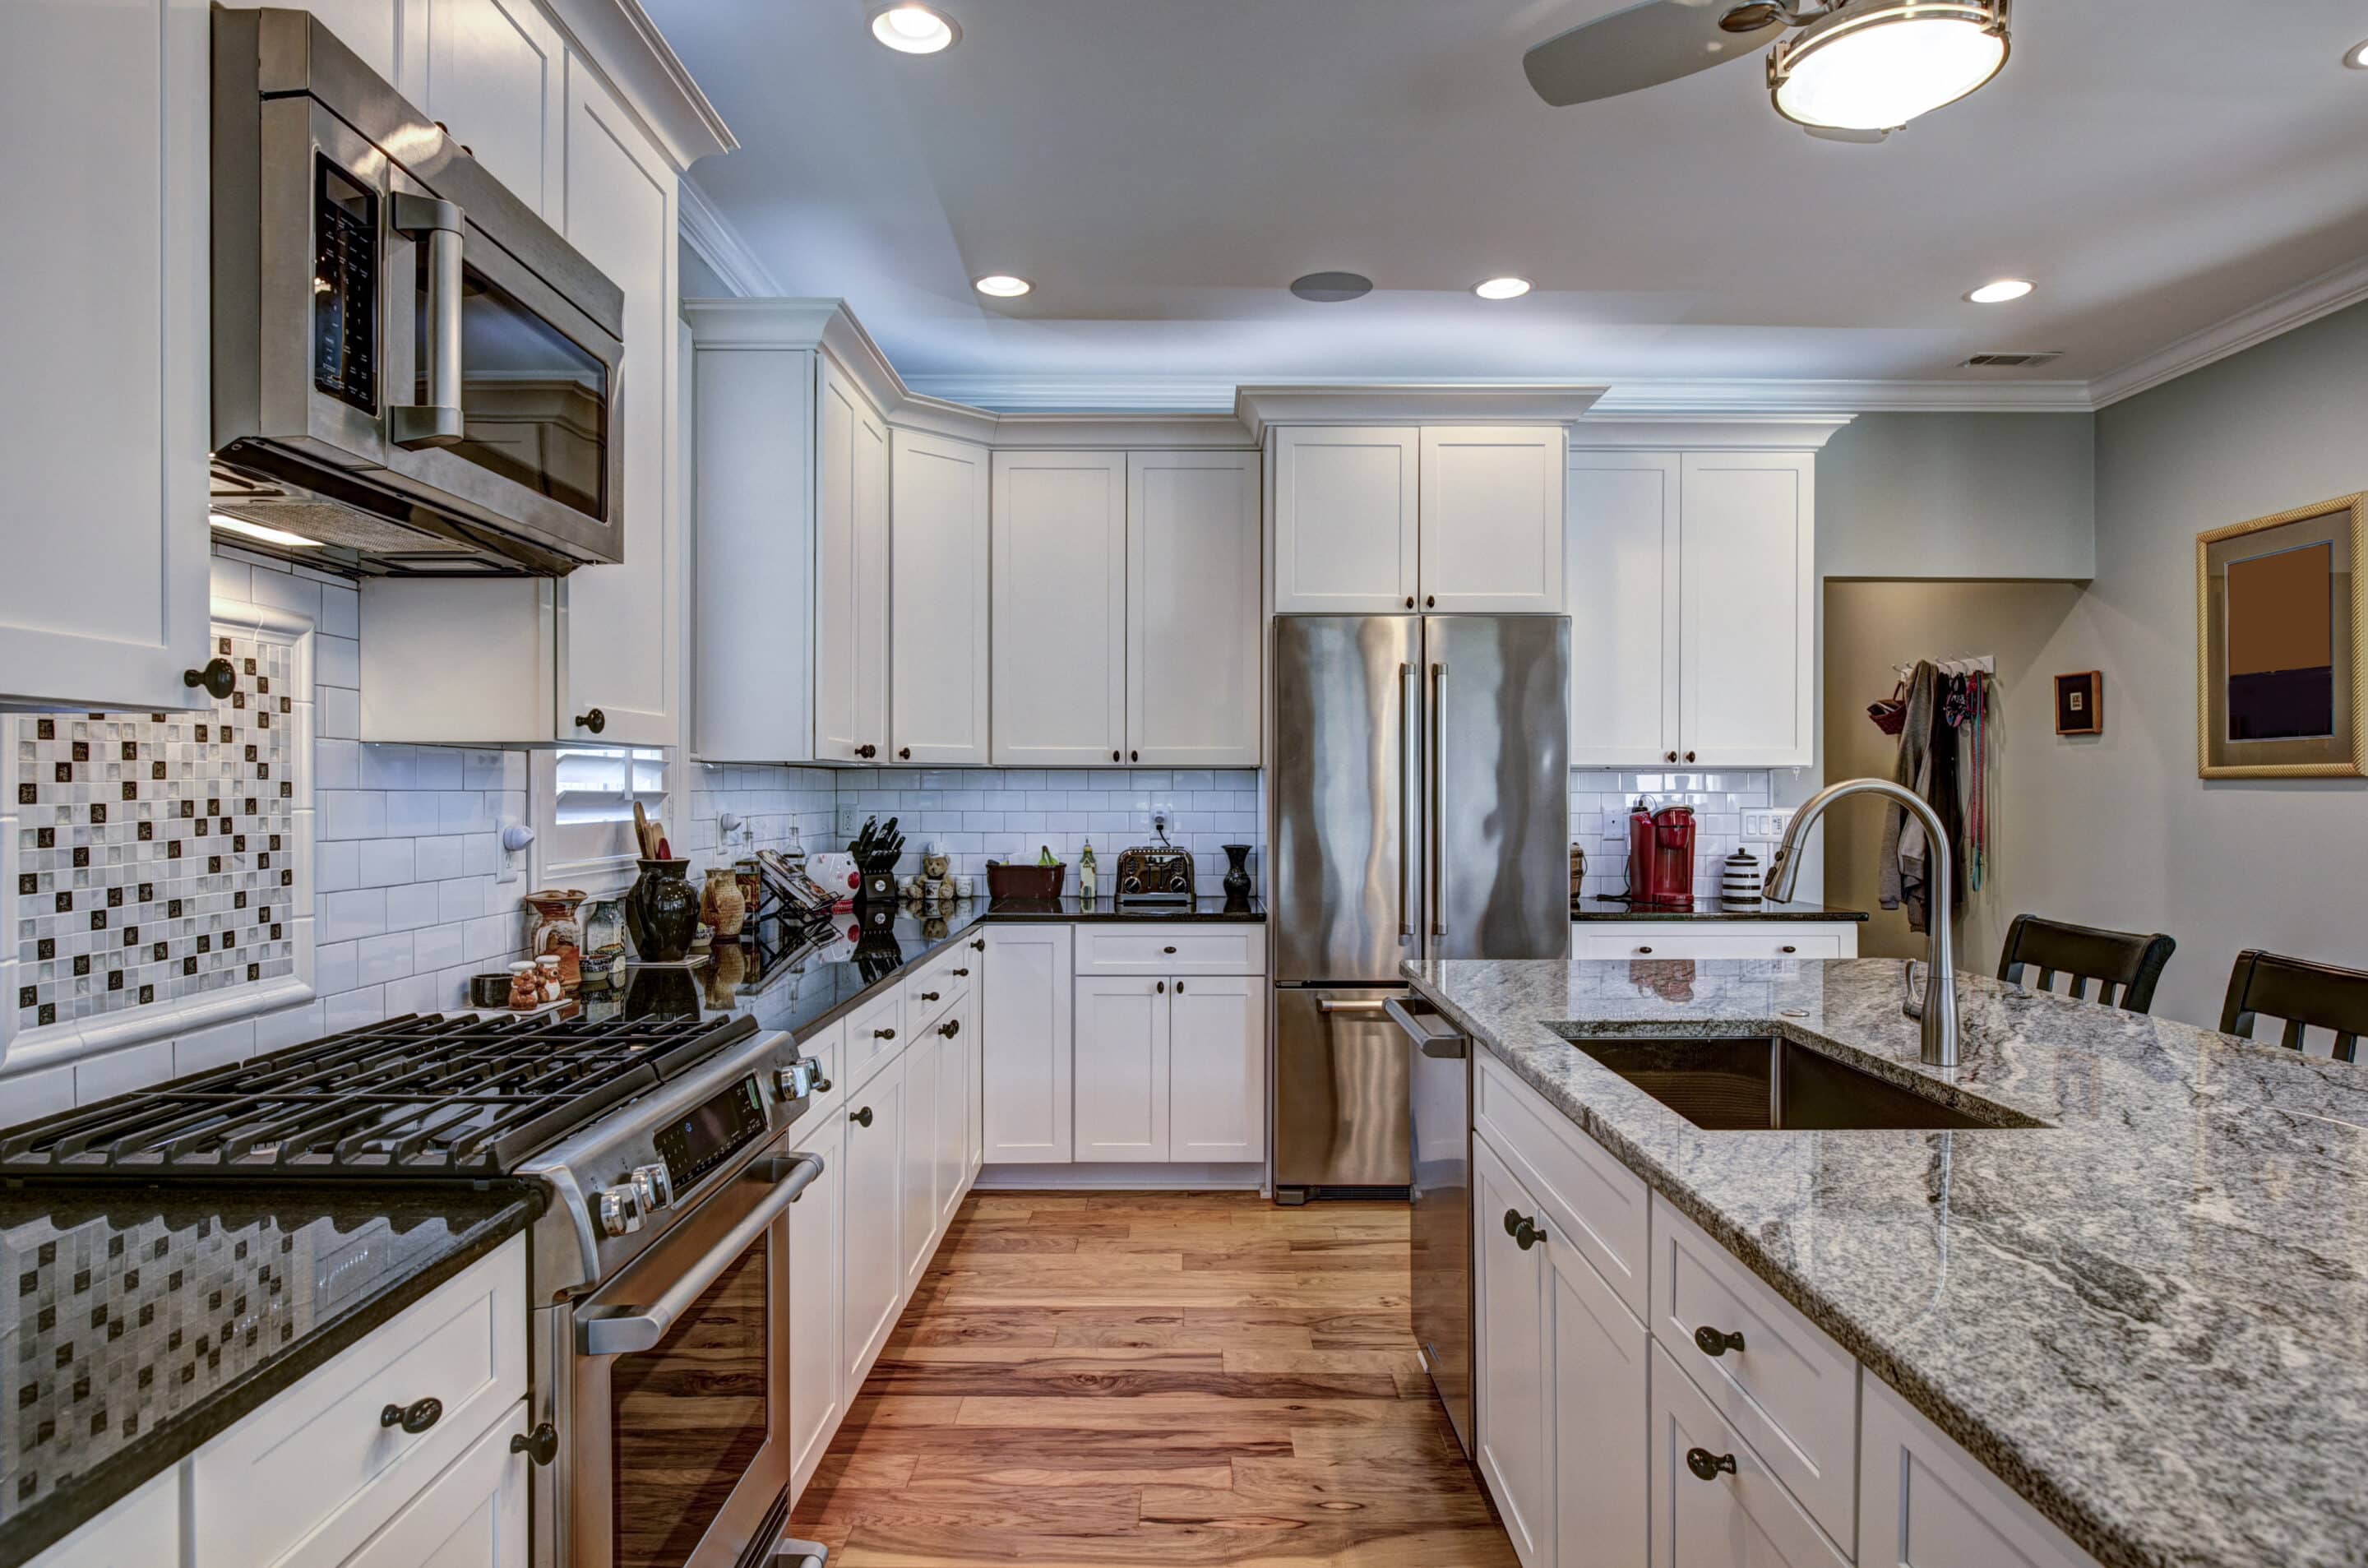
Kitchen tile installation in Fairview: floors vs backsplash
Floor tile and wall tile are different jobs. A kitchen floor needs a flat plane, movement joints, and a surface that can take chairs and spills. A backsplash is a wall finish that should sit on a finished countertop edge so the first course is straight.
Fairview kitchens often mix large-format porcelain on the floor with a different splash. That is fine when thicknesses and transitions are drawn. It fails when the installer “figures it out” at the dishwasher.
If stone or quartz is also on the calendar, read Fairview countertop installation first. Tile after the slab is the usual order for splash. Floor tile can go earlier if appliance openings and cabinet scribes are known.
City-specific product pages still live under Fairview kitchen remodeling. This guide is the install sequence, not a second service-area homepage.
Substrate, layout, and what we check first
We look at the subfloor or existing tile, the high spots, and whether a membrane or patch is needed. Large tile is unforgiving. A 12×24 that looks cheap to grout will telegraph every dip.
Layout starts from the most visible run — often the aisle from the family room — not from a random corner. Cuts should land under cabinets or at walls, not in the middle of the walkway. Pattern (straight, brick, herringbone) changes waste and labor. Ask for a dry layout on the big field before thinset hits the floor.
The Tile Council of North America publishes movement-joint and substrate guidance that good installers actually follow. “No grout cracks ever” is not a promise; “we planned the joints” is a real statement.
Appliance legs, toe kicks, and fridge water lines need a plan. Sliding a range onto a proud grout ridge is how porcelain chips on day two.
Backsplash sequencing with counters and outlets
Kitchen backsplash installation in Fairview should wait until the countertop is set whenever possible. Tile sitting on stone hides the small wall gap. Tile first forces the fabricator to scribe to grout — slower and riskier.
Map outlets and switches on the wall with the actual tile size. A stacked mosaic can swallow a device; a 4×16 subway wants devices centered on grout or on a full piece, not half-on-half-off. Order device plates that fit the tile thickness.
Full-height splash to the hood looks finished. A 4-inch splash collects grease at the grout. Neither is “wrong”; they have different cleaning lives. If you cook daily, pick a grout and sealer you will actually maintain.
Living in the house during tile work
Dust control, furniture paths, and a temporary kitchen plan matter more than the grout color meeting. Fairview occupied homes need protection on adjacent floors and HVAC returns. We would rather pause a day than grind silica through the living room.
Ask how long the floor cannot take traffic. Rapid-set products shorten that window but still need the right temperature. Pets should be elsewhere while thinset is open.
How to read a Fairview tile bid
A real bid lists demo, haul-off, substrate work, membrane, tile, grout, sealer if specified, schluter or caulk transitions, and outlet resets. “Install tile” with no substrate line is how extras appear mid-job.
Who supplies the tile? Lead times on specialty porcelain can exceed the cabinet install. Do not schedule splash until boxes are on site if the pattern wraps a window.
Frequently Asked Questions
Can you tile over existing kitchen tile?
Sometimes, if the old floor is sound, flat, and the height will not bind appliances or doors. Often it is cleaner to demo.
Do you install kitchen backsplash and floor tile together?
Yes, as one sequence when the countertop date is known. We still treat them as two planes with different details.
What grout do you recommend?
It depends on joint size, color, and how the kitchen is used. We pick after seeing the tile, not from a generic chart.
How do I start?
Call (972) 406-8881 or contact us.
Next step
Toscana Remodeling will layout the field, protect the house, and install kitchen tile that matches how you cook. Call (972) 406-8881.
Bring full-size tile samples into the kitchen at night and day. Showroom lighting hides color shift that you will live with at dinner.
Confirm who moves the fridge and whether the ice line is capped before demo so you are not surprised by a leak.
If cabinets are being painted in the same phase, sequence paint and grout so neither trade is working on wet finishes.
Keep extra boxes of the same lot number. Future repairs on a discontinued dye lot never match as well as leftover stock.
Ask how outside corners and window returns are finished. Schluter, miter, and bullnose are different looks and different labor.
Write the waterproofing or membrane product name into the contract when the kitchen sits on a slab that has moved in the past.
If a powder bath shares a wall, tell us so we do not hang splash on a wall that still needs plumbing access.
After handover, follow the grout manufacturer’s first-week cleaning rules. Harsh products that soon can haze a new floor.
Write down how the room fails you on a weekday before you pick finishes. That list keeps the remodel honest when showroom options start to multiply.
Ask who will be on site day to day and how you will get updates. Silence during a remodel creates more stress than dust.
Confirm lead times for cabinets, tops, tile, and fixtures before you lock a start date. Long-lead items drive the real calendar.
Keep a shared folder for plans, selections, and photos. Projects move faster when everyone works from the same files.
Change orders should describe the why, the cost, and the schedule impact in writing before work continues.
Final walkthroughs catch small misses: alignment, caulk lines, and water tests. Use a checklist.
After handover, follow manufacturer care guidance for the first months. New surfaces often need gentler cleaners than the old room did.
If another room is next, tell us during planning so paint colors, flooring heights, and trade schedules can align once.
Share constraints up front: pets, work-from-home hours, kids’ schedules, or HOA quiet rules. Good crews plan around real life.
Ask how punch-list items are handled in the first weeks after handover so small fixes do not linger.
Keep copies of paint formulas, tile SKUs, and fixture model numbers. Future repairs are easier when the finish package is documented.
If budget is firm, say the number early. Editing scope before demo is cheaper than cutting quality mid-project.