Engineered Hardwood Installation – Toscana
Engineered hardwood has emerged as a popular flooring choice for Dallas, TX homeowners. If you are interested in engineered hardwood or if you already have it piled up in your residing room, you probably would like some tips on engineered hardwood installation. Please learn on to know about installation via the floating, glue down, and staple down methods.
First, a couple of basic suggestions:
- Let the flooring sit in the installation room for at least 72 hours. This allows for it to acclimate to room temperatures.
- Mix planks between packages to ensure different shades when installing. A mix of shades will give your engineered hardwood floor flavor and flow.
- Check for warped boards. Obviously, you don’t want to use any subpar planks in installation.
- Gather necessary tools: Cutting saw, painter’s tape, pull bar, rubber mallet, tapping block, trowel, spacers, wood cleansing substance.
Floating Floor
The floating method consists of laying the engineered hardwood over a subfloor and connecting planks by clicking and locking them together. This is considered the easiest installation technique as it requires no gluing or nailing. It takes precision just like other methods; however, the preparation is less time consuming and the room for error is larger. As long as the subfloor is dry and flat, installing a floating flooring is a fantastic option.
Glue Down Floor
The glue down method is relatively straightforward as well. It is ideal if your subfloor is made of concrete. A flooring adhesive has to be spread throughout the subfloor and the engineered hardwood planks are applied over the adhesive to maintain position. Some adhesives instruct planks to be applied when the glue is still wet, whereas others say to apply them when the glue has dried. Frankly, the former is more reasonable as you can finish applying the engineered hardwood installation faster, without having to wait for the glue to dry.
If you do choose to apply the flooring over wet glue, consider spreading the adhesive two ft at a time. This strategy helps with the overall flow of installation as you won’t have to woory about the glue drying at later stages.
Staple Down Floor
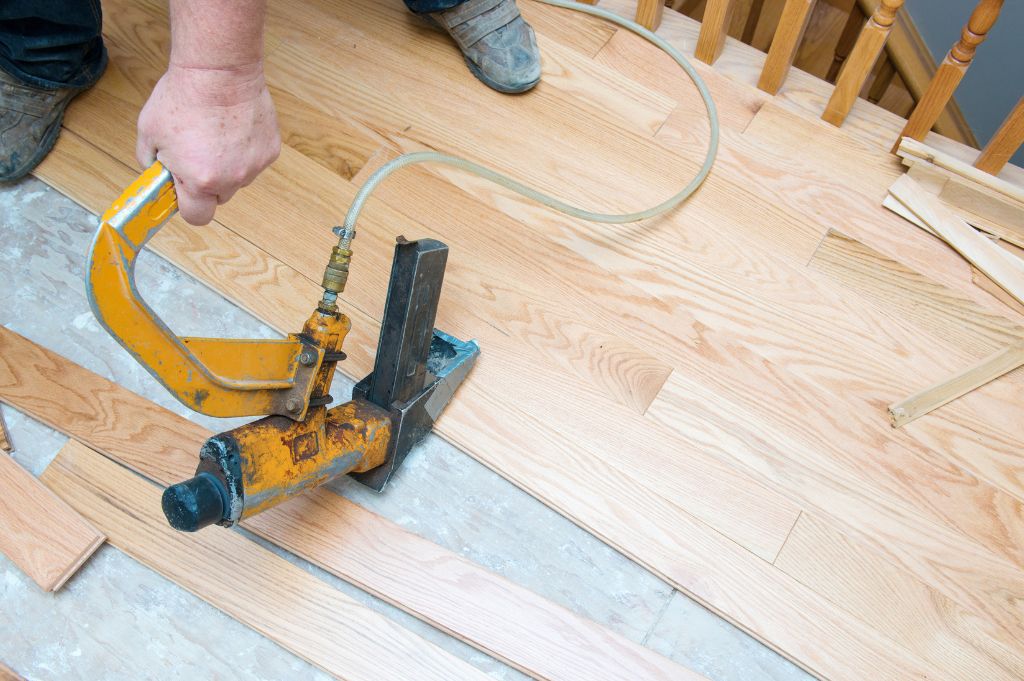
The staple down method is the most difficult; though many Dallas, TX homeowners choose this technique because it’s the most dependable. Your carpenter skills will be tested; thus, if you don’t have carpentry expertise, you should either depend on professional assistance or decide on another installation method (floating or glue down).
Planks are literally stapled into the ground, about six inches apart. Because engineered hardwood consists of additional non-hardwood layers, it’s safest to use staples instead of nails. Once it’s all said and done, you will have a sturdy, immovable floor.
Installation basics
- It is wise to lay out the first two rows of planks before forcing them in place. Visualize the beginning of the engineered hardwood installation and draw a chalk line on the end of the second row. Also, leave about a half-inch gap between the first row and the wall. The use of spacers will secure the first row and preserve the half-inch gap.
- Be sure the tongue of every plank is facing the wall.
- All planks should be staggered six inches to avoid pattern repetition. You don’t want H joints or a stair step pattern to appear in your wood flooring creation.
- You can chisel planks into place by placing a tapping block over each and tapping the tapping block with a rubber mallet.
- If you use the glue method, make sure that no glue dries on top of the planks. There is a good chance glue finds its way onto the planks, so have a cleaning agent (specific to cleaning engineered hardwood) available to wipe off any glue.
- Once the installation is complete, avoid foot traffic for 24 hours.
Engineered hardwood installation is tougher than it sounds or reads; therefore, keep a professional installation company in your back pocket. Yes, you’ll save money by installing the floor by yourself; however, the installation will take longer and you’ll be more prone to making mistakes. And mistakes can really throw a project out of whack, especially one as long-term as putting in brand-new flooring.
Conclusion: Engineered Hardwood Installation
Engineered hardwood installation offers Dallas, TX homeowners a versatile and stylish flooring option. Whether you choose the floating, glue down, or staple down method, proper installation is essential for achieving a beautiful and long-lasting result. By following the guidelines outlined in this comprehensive guide, you can enjoy the beauty and durability of engineered hardwood flooring in your home for years to come.
Ready to transform your home with beautiful engineered hardwood flooring? Give Toscana Remodeling a call at (972) 406-8881 to schedule a consultation and get started on your project! Also, please visit our blog for additional helpful flooring and home remodeling input. Don’t wait any longer to enhance the beauty and value of your home with high-quality flooring solutions. Let’s bring your vision to life together!
